And if you did, shame on you! Snoop!

I'm pretty sure this door stop has been mentioned in almost every design magazine and online design site for, like, ever. Almost with as much frequency as "Keep Calm and Carry On." So when I saw a tutorial on Design*Sponge, I bookmarked it for later. I wasn't sure if I was going to make my own door stop or what, but just knowing the name of the knot and that it was completely do-able was enough for me.
Fast forward to Christmas when I started browsing my bookmarks for ideas. When I saw the tutorial again, I wondered if it would work on a smaller scale. I did some tests on a round shoelace and figured it probably would, so I went in search of some cheap, skinny (but not too skinny) rope.
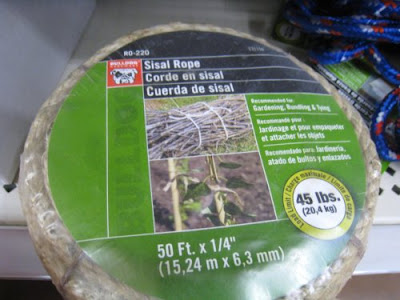
I found a roll of sisal rope at Walmart for less than $5, and with that roll, I was able to make eight monkey fists. I probably could have made one more, but it took a couple knots before I figured out exactly how best to measure the rope and how to cut it.

The tutorial itself is fairly straight forward, though I didn't need the help of three videos plus pictures. Maybe it was that year I spent in Navy League (useless knot tying finally pays off! When am I going to reap the benefits from my endless marching?!), but I found this video to be the most helpful and then used my own judgement when tightening the knot. Tightening is the trickiest and most time-consuming part of the whole thing. Truth: I had really sore fingers after making all of these. I had to do them in two weekend stages.

I was going to stuff a rubber ball inside each one just so I could easily tighten them into a round shape, but they were all out of rubber balls, so I took that as a sign and ditched the idea. Once I started making them, I realized they didn't need anything to help shape them at all. You just can't be shy about squeezing them and manipulating them as you're tightening the ropes. I was also worried that the knots would be too big to hang on a tree, but that was just silly. They're really not that heavy, and they fit neatly into the palm of my hand which is about the size of any other Christmas ball ornament. I still wish I could put them on a tree to see how they look, though.

I was really against spray painting these after seeing the hideous blue one on Design*Sponge (sorry! I thought it was gross!), but since I ended up with eight, I decided to sacrifice one to some gold spray paint. It looked miles better painted when compared to the natural colour of the rope, and I thought the gold added more depth so I did them all (I only put one light coat of paint on so as not to overdo it). Obviously, you could paint these in all sorts of colours and make them all Christmasy. You know, if that's your thing. But the nicest bit about these is that after Christmas is over, you could keep one sitting out on your desk or table as an objet d'art or paperweight and no one would know you had it as a Christmas ornament. Dual purpose gift!

The wrapping is simply a couple layers of blue tissue paper, a layer of burlap, tied with a pom pom and one wax paper flower. I looked everywhere crafty for burlap, but I stumbled on the perfect stuff in the home and garden section of Walmart. It's the burlap you'd wrap a tree in during the winter to protect it from the elements.
Eh hem. Let me just do some quick Idle Wife math for you: Craft burlap = uber expensive + you get a tiny amount in a specific shape (like a roll of 'fancy' burlap ribbon). Tree protection burlap (exactly the same as crafty burlap) = uber cheap + you get a ton of it and you can cut it to any damn shape you please.I really love the pom pom and wax paper flower, too, because those can also become tree or house decorations if the recipient wants. So I kind of consider this a three-part gift.
{bonus craft idea or gift}

I really love the pom poms, I mean, I really really do. More than a grown woman should. They're definitely one of my favourite things this year. I first made some larger ones using a paper circle, like in this tutorial, but for the smaller ones, I used this diy and I found it a whole lot easier. Once I made enough pom poms for the number of gifts I had to wrap, I had a lot of yarn leftover, so I decided to keep making them until the yarn was gone (what else was I going to use that yarn for anyway?). Obviously you can use the pom poms for a lot of different crafts that are also giftable, like garlands or wreathes, or you can just tie them straight onto a tree branch. Since I don't have a tree yet, I tied mine onto my cute crocheted Christmas tree.

No comments:
Post a Comment